Everyone’s been here before, you know the iLO password should be set to something, only to find out that on just this one server the password is different.
There are several ways to reset the iLO password; you could reboot the server and reset it that way. But who likes planning downtime on a server for a password reset? Luckily you find that the server is an ESXi host that was installed using the HPE customized image. This is good news as you can now use the HPONCFG tool to reset the password!
Checking the configuration
Before you start resetting the administrator password, you can always check the current configuration. This will show you the entire configuration done on the iLO, including any additional users that were created.
To start using the HPONCFG tool, first enable SSH on the ESXi host in question and log on. Once logged on, go to /opt/tools . This is where you will find the HPONCFG tool.
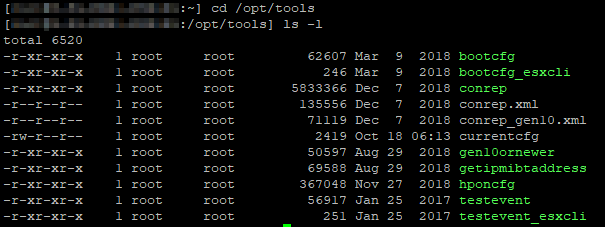
To export the current config, run this command to write everything to a file
./hponcfg -w currentcfg
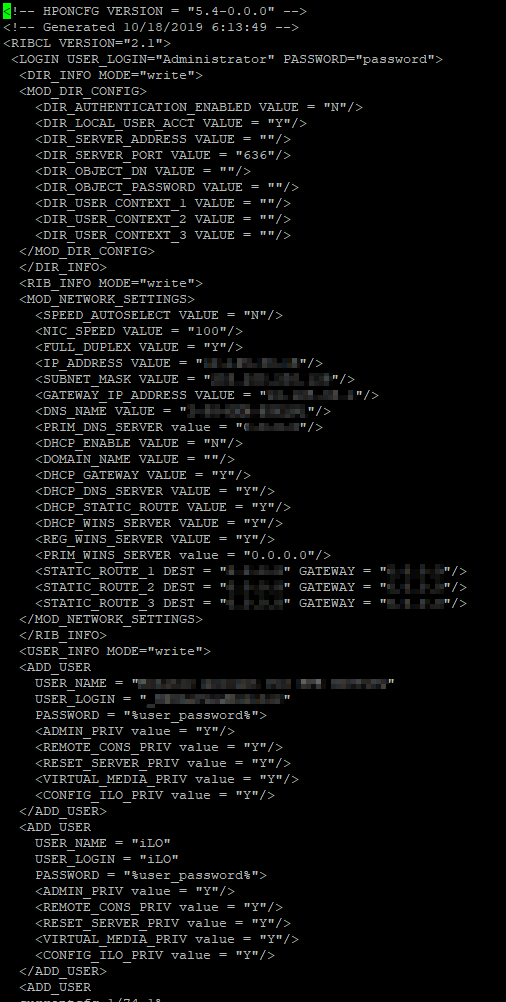
You can then look at the file using your editor of choice. In the file you can see the IP address assigned, DNS name of the iLO and, most importantly, the users created. You can see here that there’s 3 users
Resetting the password
Now that we know which users exist on the iLO, we can start doing the actual password reset on the user we want. To do this, we will create an XML file on the ESXi host that contains the new password for the user.
Create the new file on the host, using your editor of choice. I like to use vi, so that’s what you will see below.
<pre class="wp-block-code"><code>vi pwreset.xml
Now you can press the i key to insert, copy the code below and right click in your ssh window to paste. You can replace the SuperSecureP@ssw0rd! with the password you want to set on the user
|
|
Afterwards, hit the escape button and type :wq to save the file. Now we can start the actual reset. Run the command below to perform the reset
./hponcfg -f pwreset.xml
If the reset is successful, you should see the output like this

Cleaning up
Now that the password has been reset, login just to make sure everything is working as expected. As a security precaution, make sure you delete the pwreset.xml file, once you have verified you can log in! We don’t want to store passwords in clean text anywhere 😉
rm -rf pwreset.xml
The above command will delete the file, if you’re still in the /opt/tools folder.