One thing I like to do whenever I bring up a new cluster, is to enable EVC on it. The past years I’ve seen mixed generation clusters a lot and there’s no reason to leave it disabled on new clusters. Doing it at deploy will save you A LOT of headaches down the line, having to power off an entire cluster is no fun.
Something I found out recently is that the VCF Installer does not enable EVC during the deployment of a new VCF environment, you also can’t make the installer do it through the API. This is outlined in this Broadcom KB. The KB tells us how we can enable EVC during the deployment phase, but what if, like me, you only find out after deployment? And what if this happens on your management cluster, and vCenter also doesn’t have EVC enabled? Well, we can use per-vm EVC for that!
The steps outlined here apply to VCF 9.0 and 9.1 at the time of writing.
Before we start changing things, we first need to get some information. The first thing we need is the CPU generation so that we can match it with the EVC level. Look at the CPUs that are in your cluster(s) and find the lowest common denominator for the CPUs if you have a mixed cluster. For Intel CPUs, you can look up your CPU on ark.intel.com. AMD CPUs are easier to figure out, the last digit in the CPU model number refers to the Zen generation. So an Epyc 7343 is Zen 3, where an Epyc 9015 is Zen 5.
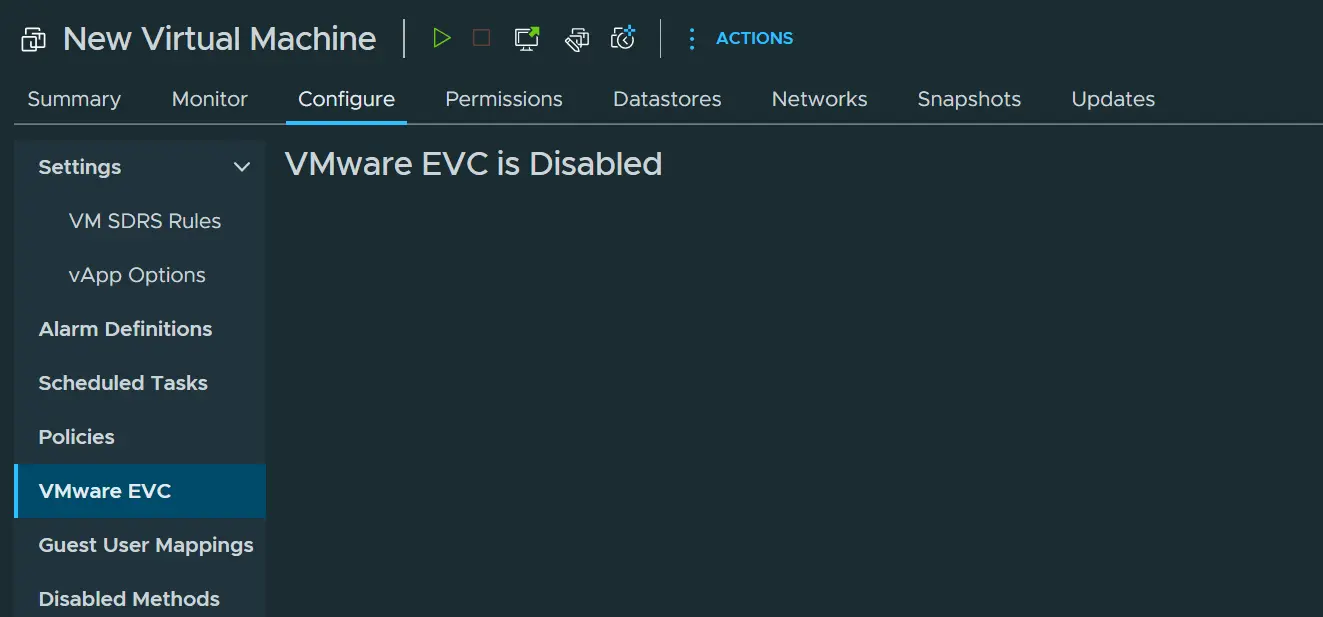
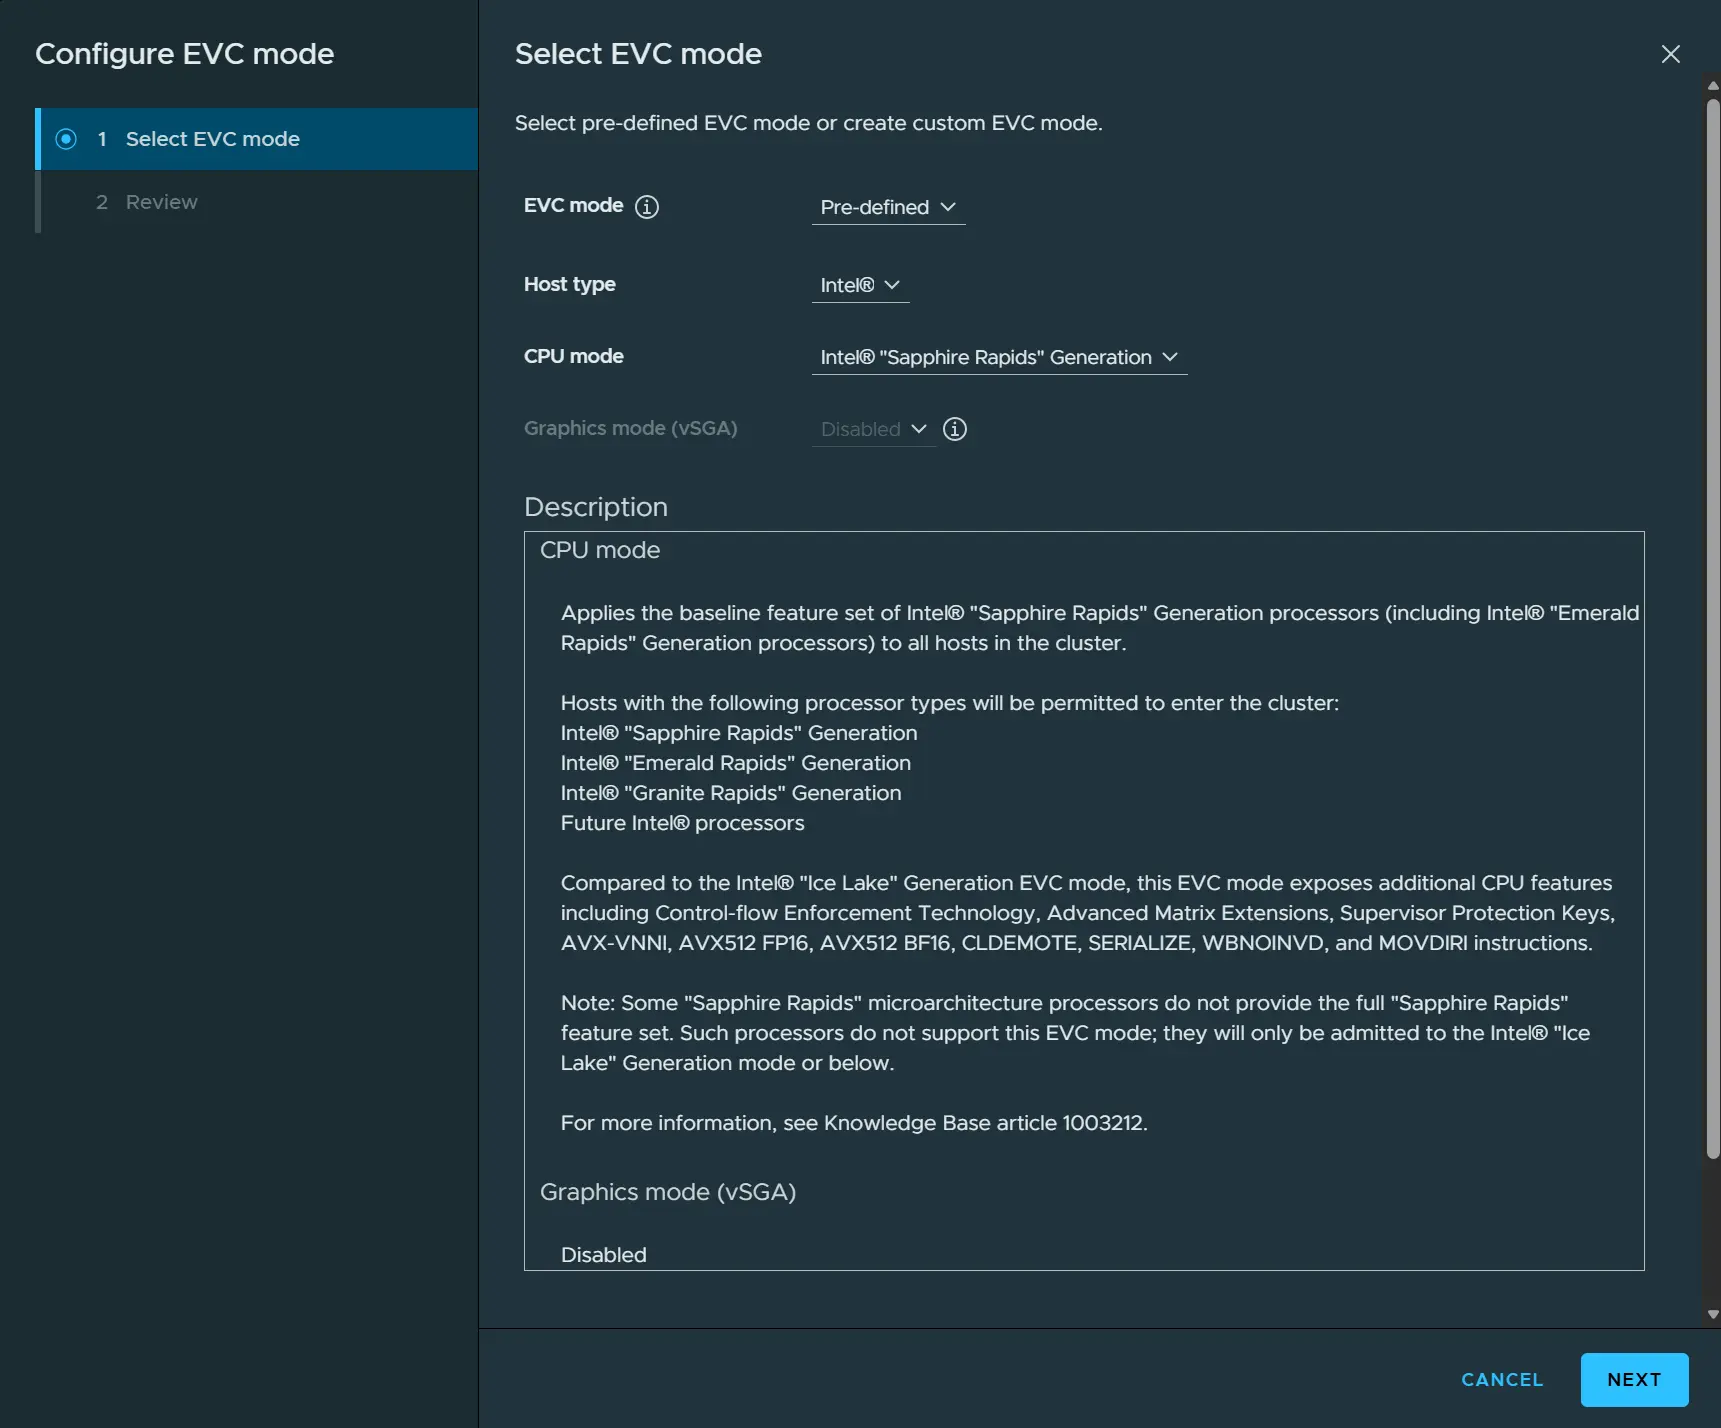
Once you’ve got the lowest common denominator, the next thing to do is create a dummy VM. Just hit next on all the options in the New Virtual Machine wizard. Once the dummy VM is created, we will enable per-VM EVC on it to the level you figured out before. In my example here, I’m setting the level to “Sapphire Rapids”.
After this setting is saved, we’re going to SSH into an ESX in the cluster and look at the vmx file of the VM we just created. Per-VM EVC adds a bunch of feature flags into the vmx file, we will need these flags in a later step. The flags you want to copy are at the bottom of the file and start with featmask.vm.cpuid.xxx .
Finally, you want to look at which ESX currently hosts the vCenter VM and make sure you can open the host client to that host. We will need it to power vCenter back on after the changes. Once you have everything verified it’s time to power off every VM in the cluster, including vCenter.
Now that vCenter is powered off, we can edit the vmx file. But before we do that we want to protect our future selves, just in case anything goes wrong. Go to the folder of the vCenter VM
cd /vmfs/volumes/<datastore name>/<vCenter VM name>
Once in that folder, create a copy of the current VMX file by using cp vcenter.vmx vcenter.vmx.bak. After that, edit the file using vi. In vi, press shift g to go to the bottom of the file and add in all the featmask values you copied from the dummy VM.
Save the file and exit vi (if you can!). Now go back to the ESX host client and power vCenter back on. If everything went well, you should not get any errors during the power on process. Wait for a few minutes for vCenter to completely start back up and log into the vSphere client using the SSO admin account.
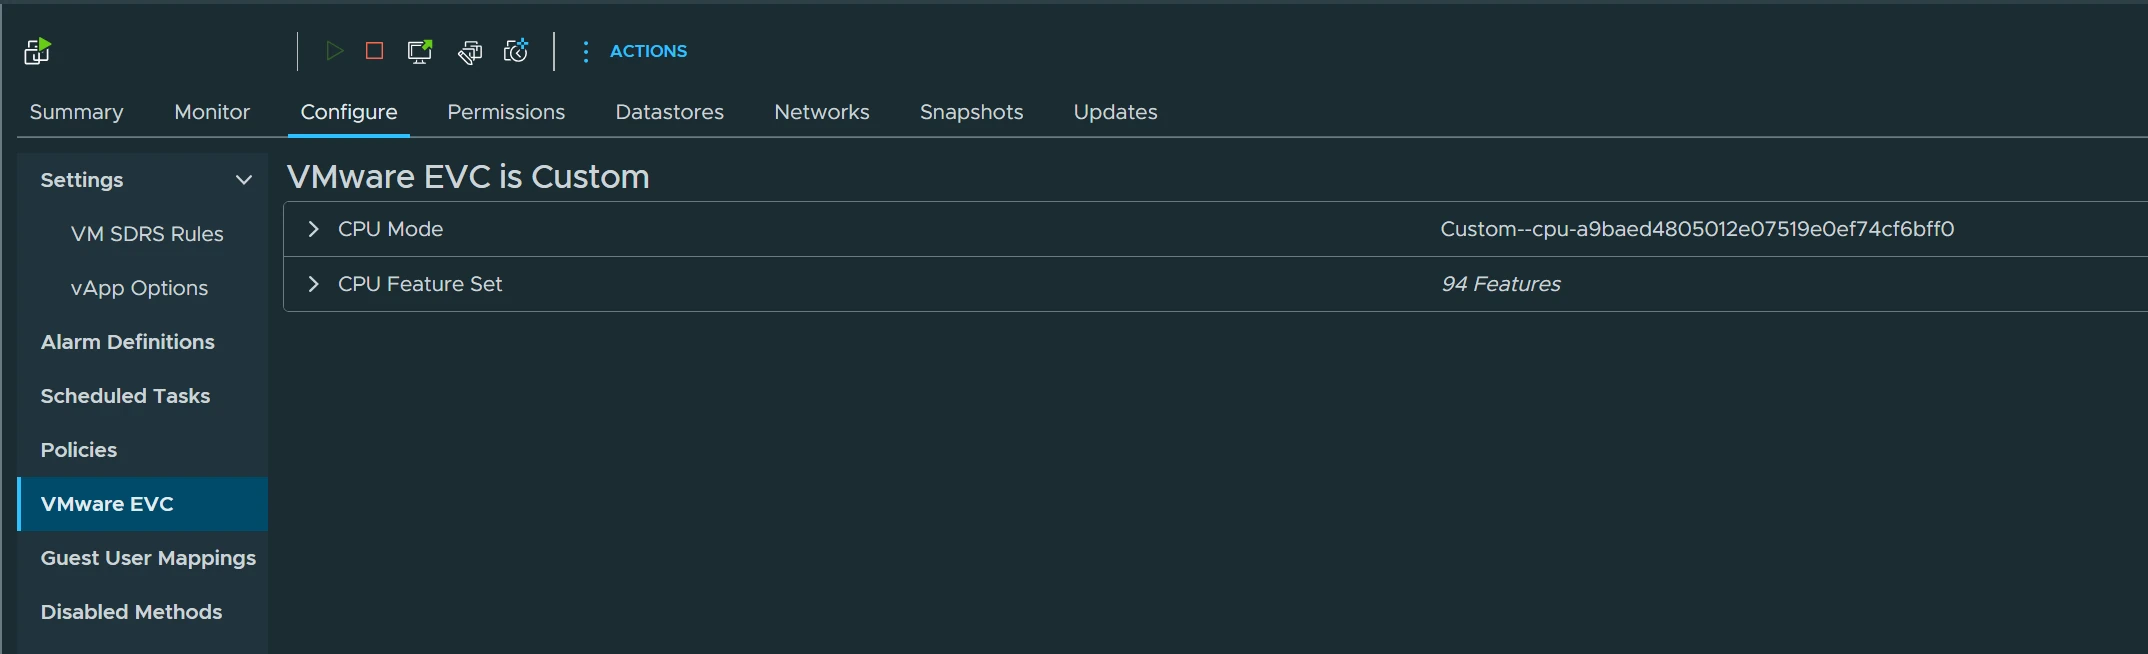
If you look at the vCenter VM, you’ll notice in the EVC tab that it shows a custom level. This is expected in this stage.
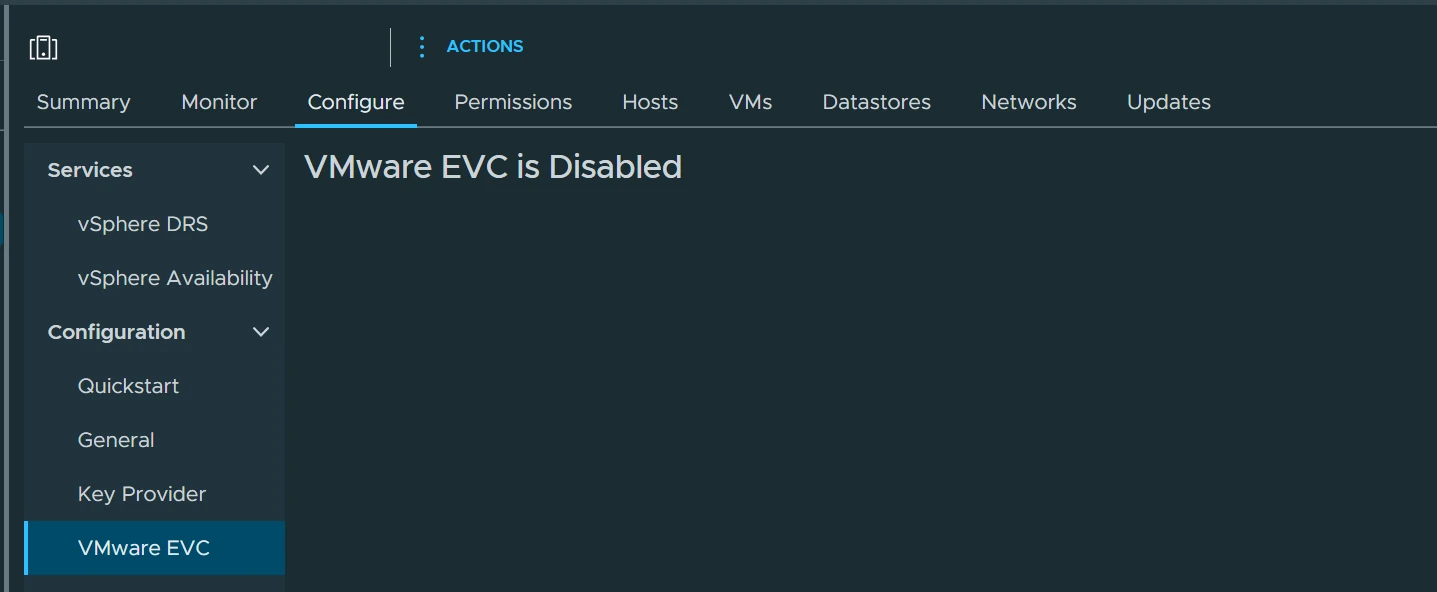
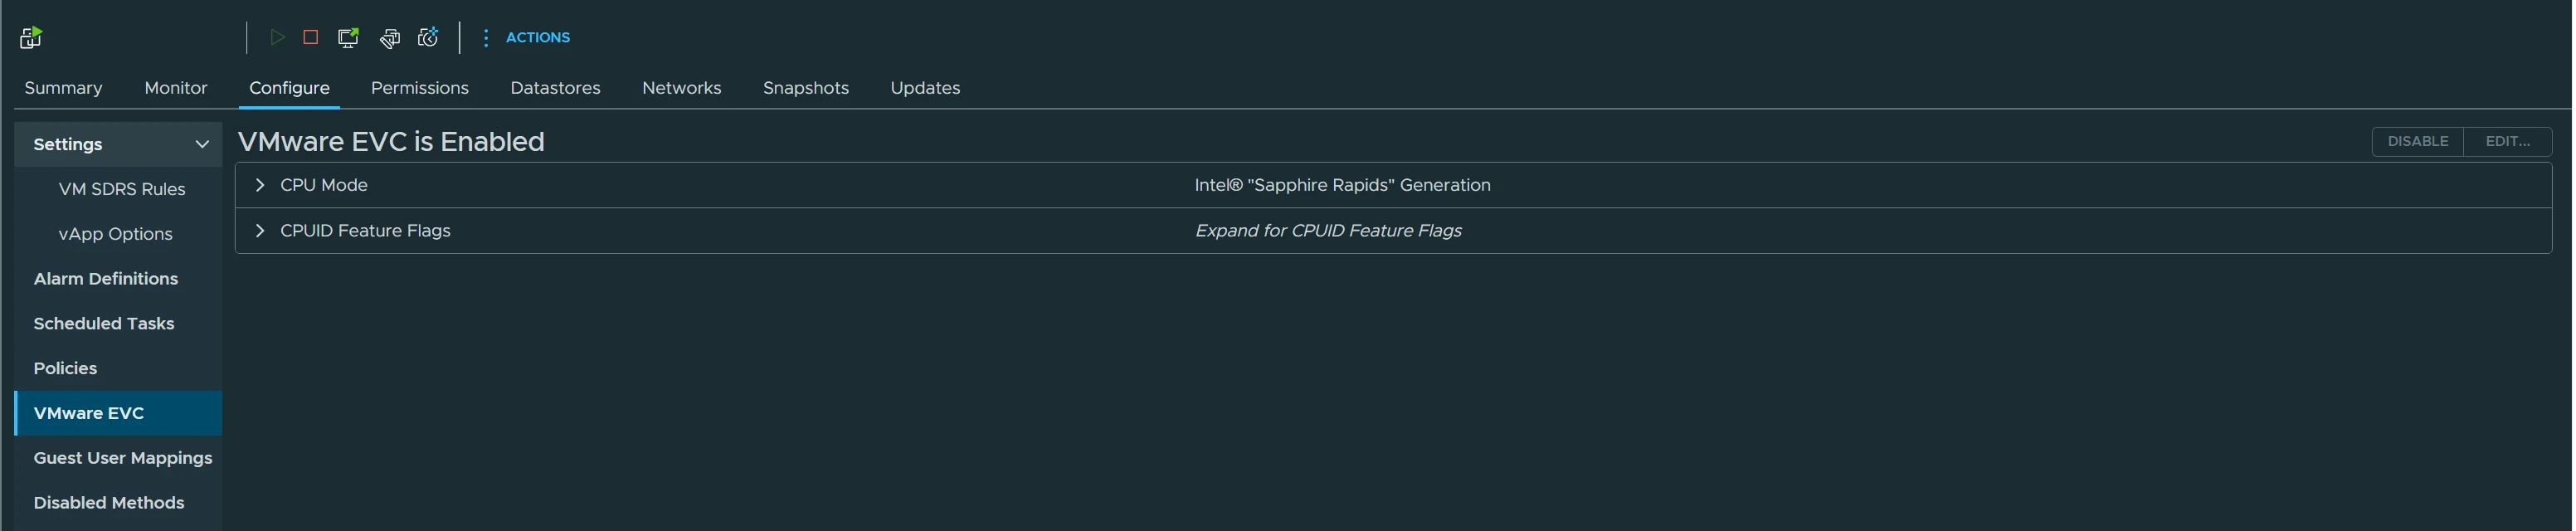
Go to the configure tab of the cluster and click on the EVC section. Click on Edit and select the level you set before on the dummy VM.
Before the changes:
After the changes:
Once you’ve saved it, power off the vcenter VM. After the power off is complete, edit the vmx file and remove all the featmask values, we just added. Save the file and power vCenter back on.
If everything went well, vCenter should just power back on with no issues. Once it’s powered on, you’ll notice that the custom level in the EVC tab is gone and it should show the level you selected for the entire cluster. If that’s the case, then the operation was succesfull and you can proceed with powering on all the VMs on the cluster.
This entire procedure is a bit cumbersome but it’s well worth the time to do it before going into production. I hope a future VCF release will have the option added to enable EVC from the start, but for now you can use the Broadcom workaround during the deployment or what I outlined in this post if you found out after the fact.